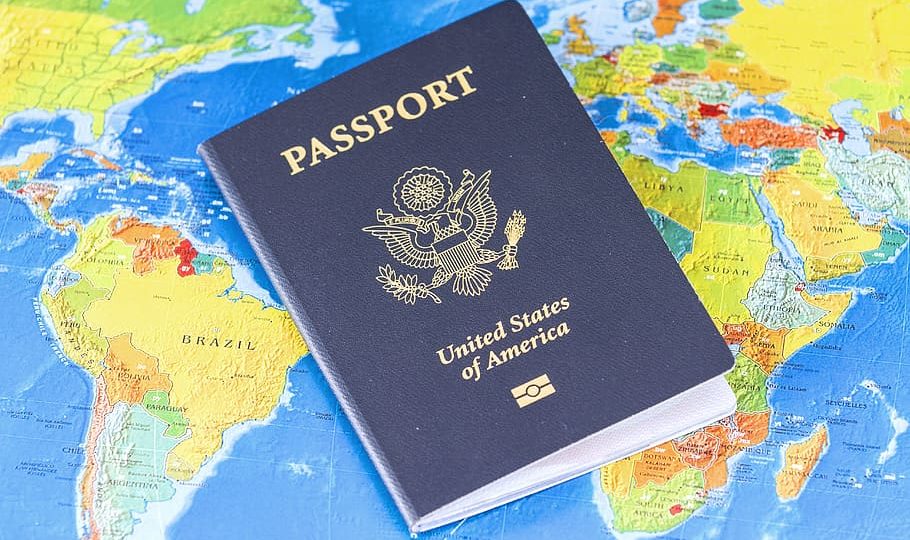
9 Tips For Your Visa Appointment At The French Embassy
There is no way around it, applying for a visa to France is not easy nor fun. The list of requirements never-ending, the paperwork laborious and exact, the anxiety nauseating, and the employees are sometimes unfriendly and condescending.
With yesterday being my fourth visa application and third visit, I thought I would put the experiences (which are all with the DC consulate) to good use and offer my 10 helpful tips to surviving your visa appointment with the US-French Embassy.
Here Are Some Tips To Survive Your Visa Appointment At The Embassy
Give yourself time to collect your documents
Don’t procrastinate with this one. Become familiar with the list of requirements and begin collecting what you can as soon as you can. If it’s a student visa you’re after, you’ll have to go through Campus France. Approval from them is required for your visa, and to begin the process, you’ll have to fill out their long application that has a number of requirements from questions about your intentions to copies of your transcripts. Even once you’ve finally submitted your complete dossier; it can take up to three weeks before you get their letter of approval to bring to your appointment.
Know the process
Be aware of the process, including that the consulate my take your passport and mail it back to you with the visa upon approval. All consulates are different, but some may request you bring a self-addressed prepaid envelope. This is because they will withhold your passport until the visa application is approved before mailing it back to you with the visa (a sticker) on one of the passport pages. The consulate recommends you allow three weeks for processing and shipping time. If you are in a time crunch, invest in UPS with tracking if possible.
If making travel arrangements, leave breathing room
I’ve gotten many emails requesting how long the appointments take. Each time I went to DC from Philadelphia, I stayed the night before and made sure I had nothing rushing me back home. While it may be true, you make an appointment for 11:00am that doesn’t mean you’ll be seen right away. Because each case, even each day, is different, I really can’t give a rough estimate. So just error on the safe side and give yourself a few hours, especially since you aren’t sure what to expect.
Have everything ready
It seems obvious, but I could see why the consulate employees get irritable when in the hour I was there, at least three people either didn’t know about the items on the list or didn’t bring some of the required docs with them. Check and recheck that you have all the requested items listed on your consulate’s website. Check and recheck the application forms are filled out correctly. Then, think outside the box.
Some items not listed may be asked for, such as your birth certificate. If you aren’t sure which form of address verification will work, bring both. For one requirement of my visa application last year, a notarized letter from my dad was required, but when I presented it to the consulate employee, they asked how they were supposed to know this man was my dad. Um… really? The requirement had said nothing about bringing my birth certificate (although I noticed it now does).
Organize your forms
They may not ask for them in the order listed on their website. Regardless, have things organized so you can hand over the documents quickly as they ask for them. Though they ask you to bring the originals, they are really only interested in the copies. I suggest using paper clips to keep copies of each separate requirement together. This will make it easier for you to flip through the paperwork, hand over the forms quickly, and your appointment will go smoothly. What’s better than that?
Arrive early
It’s in your best interest to arrive about thirty minutes before your appointment as there will be a line, a slow-moving, boring line. On a personal note for arriving early, I love scheduling that first appointment slot of the day. This has many advantages. First of all, the appointment won’t be hanging over your head all day, and you can be done with it. Second of all, they won’t have been dealing with everyone else’s applications for the previous 5 hours. Most importantly, if anything is wrong with your paperwork, you have time to fix it!
For my first visa application, the school enrollment form had me registered for only one semester, yet I was asking for a long stay. Unfortunately, I hadn’t caught the “minor” discrepancy before the appointment. I had to leave the consulate, find a nearby copy store, phone the university in Paris, and wait for the correct form to be faxed to me. Also, I arrived back at the embassy just before closing (which for the day is around noon), and luckily they let me in to finish up my application. I don’t think I would have had the same luck if I had shown up the following day without an appointment.
Know your payment options
Back in 2007 in DC, only money orders and checks were accepted. By 2011, credit cards were allowed as well. Make sure you know the cost of your visa and how you can pay for it.
Be prepared for your photo and fingerprints to be taken
This biometric step was new for me when I went for my most recent visa in 2011. After one employee processed my paperwork, I was asked to wait while another employee verified it. Then I was called up to a third employee who re-verified everything and then proceeded to take my fingerprints (digitally) and my photo for their records.
When they tell you that you can leave, run!
Not really, but you’ve just completed a significant milestone for your journey to France! What are you waiting for? Go celebrate!
Tips For Your Visa Appointment At The French Embassy – Reminder
Disclaimer: No information here should be taken as official, especially in regards to Campus France and Embassy requirements for obtaining your visa. Please check your Embassy’s website for official visa application requirements and details. All my experience and tips are based on requirements for Americans applying with consulates in the US. I am unfamiliar with the requirements of other nationalities.